In SketchUp, you can create and edit styles so that you can apply your preferred style settings with a single click.在SketchUp中,您可以创建和编辑样式,以便只需单击一下即可应用首选样式设置。
To create a new style, follow these steps:要创建新样式,请执行以下步骤:
Open the Styles panel by toggling it open in the Default Tray. 通过在默认托盘中切换打开来打开“样式”面板。Or select Window > Default Tray > Styles so that the Styles option is selected.或者选择“窗口>默认托盘>样式”,以选中“样式”选项。Open the Styles panel by selecting Window > Styles.通过选择“窗口>样式”打开“样式”面板。In the upper right, click the Create New Style button ( ).
). 在右上角,单击“创建新样式”按钮()。SketchUp creates a copy of the currently active style in the In Model styles.SketchUp在模型内样式中创建当前活动样式的副本。Click the Select tab, click the In Model icon ( ), and in the list of styles that appears, select your new style so that it’s the active style.
单击“选择”选项卡,单击“模型中”图标(),然后在显示的样式列表中选择新样式,使其成为活动样式。Click the Edit tab, click the Edge Settings icon ( ), and select your desired edge options.
单击“编辑”选项卡,单击“边设置”图标(),然后选择所需的边选项。Click the Face Settings icon ( ) and select your desired face options.
 单击“面部设置”图标(),然后选择所需的面部选项。The following figure shows the Edge Settings (Callout 1) and the Face Settings (Callout 2). In the following tables, you find a basic illustration and explanation of each setting.下图显示了边设置(标注1)和面设置(标注2)。在下表中,您可以找到每种设置的基本说明和解释。Click the Face Settings icon (
) and select your desired face options. 单击“面部设置”图标(),然后选择所需的面部选项。The following figure shows the Edge Settings (Callout 1) and the Face Settings (Callout 2). In the following tables, you find a basic illustration and explanation of each setting.下图显示了边设置(标注1)和面设置(标注2)。在下表中,您可以找到每种设置的基本说明和解释。Select the Background Settings icon ( ), and choose how you’d like the background to appear. See Customizing a Model’s Background with Styles for details about these settings.
选择“背景设置”图标(),然后选择背景的显示方式。有关这些设置的详细信息,请参阅使用样式自定义模型的背景。(Optional) If you’d like to include a watermark in your style, click the Watermark Settings icon ( ) and select your options. Your options are explained in Watermarking a Model.
(可选)如果要在样式中包含水印,请单击“水印设置”图标()并选择您的选项。您的选项在模型水印中进行了说明。(Optional) Check that visual cues such as selection colors work well with your new style. If needed, you can use the Edit tab's Modeling Settings pane to change the colors for selections and other modeling color cues.(可选)检查视觉提示(如选择颜色)是否与新样式配合良好。如果需要,可以使用“编辑”选项卡的“建模设置”窗格更改选择和其他建模颜色提示的颜色。Click the Update Style with Changes button ( ) in the upper right of the Styles panel. If the Update Style with Changes button is grayed out, your style is up-to-date.
单击“样式”面板右上角的“随更改更新样式”按钮()。如果“随更改更新样式”按钮变灰,则表示您的样式是最新的。
Tip: To edit a style (including any predefined style that comes with SketchUp), simply follow Steps 3–8 in the preceding steps.要编辑样式(包括SketchUp附带的任何预定义样式),只需按照前面步骤中的步骤3-8进行操作。
Option选项 | Example例子 | Good to Know很高兴知道 |
|---|
| Edges | 
| Toggles the display of edges in your model. The example shows edges toggled on (selected).切换模型中边的显示。该示例显示了已打开(选定)的边。 |
Back Edges后边缘 | 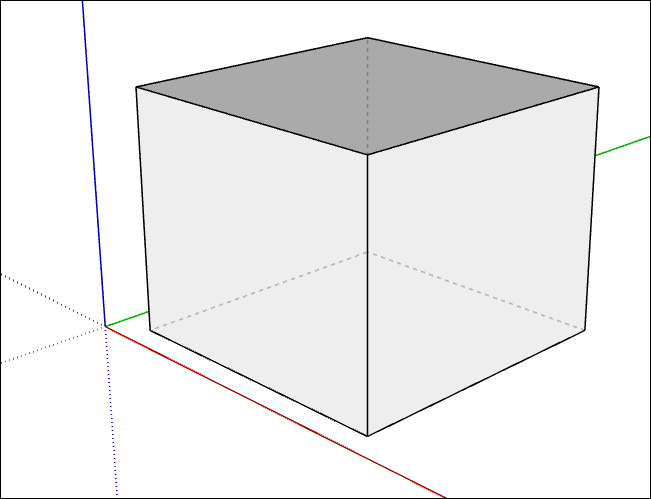
| Displays edges obscured by other edges in your model. Obscured edges appear as dashed lines. When selected, this setting disables the X-Ray face style.显示模型中被其他边遮挡的边。模糊的边缘显示为虚线。选中此设置后,将禁用X射线面样式。 |
Profiles个人资料 | 
| Emphasizes the outlines of major shapes in your model. This style borrows from a drawing technique that emphasizes the 3D nature of geometry. Enter a thickness, in pixels, for the profile lines.强调模型中主要形状的轮廓。这种风格借鉴了强调几何体三维特性的绘图技术。输入轮廓线的厚度(像素)。 |
Depth Cue深度暗示 | 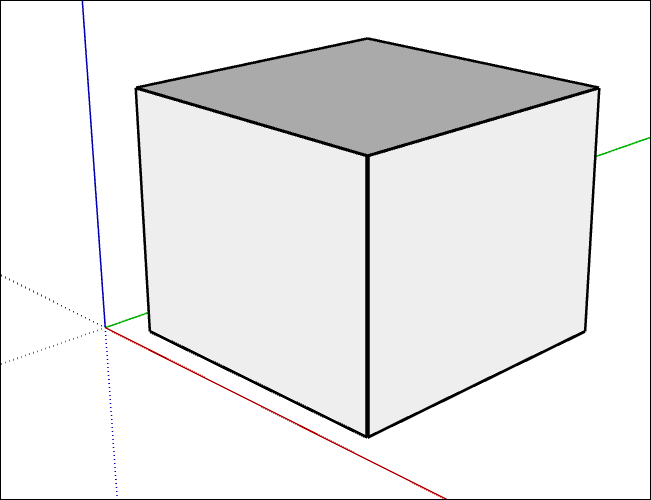
| Emphasizes foreground lines over background lines. Enter a foreground line thickness in pixels.强调前景线而非背景线。输入前景线厚度(像素)。 |
Extension扩展 | 
| Extends each line slightly past its endpoint for a hand-drawn appearance. This style does not affect inference behavior. Enter a length, in pixels, for the extension lines.将每条线稍微延伸超过其端点,以获得手绘外观。这种风格不会影响推理行为。输入尺寸界线的长度(像素)。 |
Endpoints端点 | 
| Places additional line thickness at the endpoints of lines. Enter a length, in pixels, for the length of the emphasized endpoints.在线条的端点处放置额外的线条粗细。输入强调端点的长度(以像素为单位)。 |
Jitter抖动 | 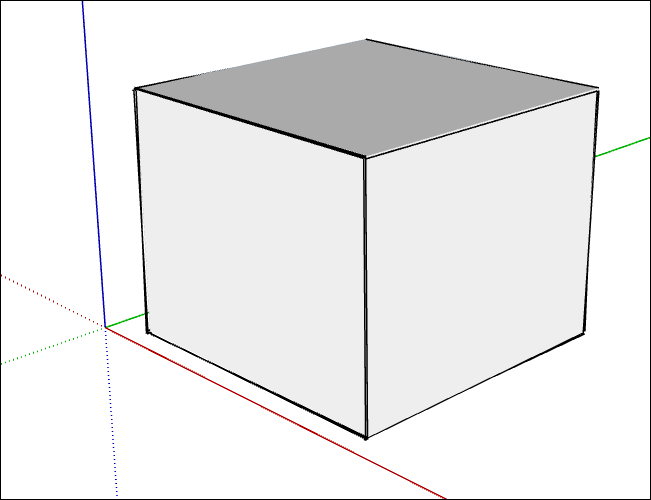
| Renders each line multiple times at a slight offset, giving your model hand-drawn sketched appearance. This edge rendering style does not affect inference behavior.以轻微偏移多次渲染每条线,使模型具有手绘草图外观。此边缘渲染样式不会影响推理行为。 |
Color: All Same颜色:都一样 | 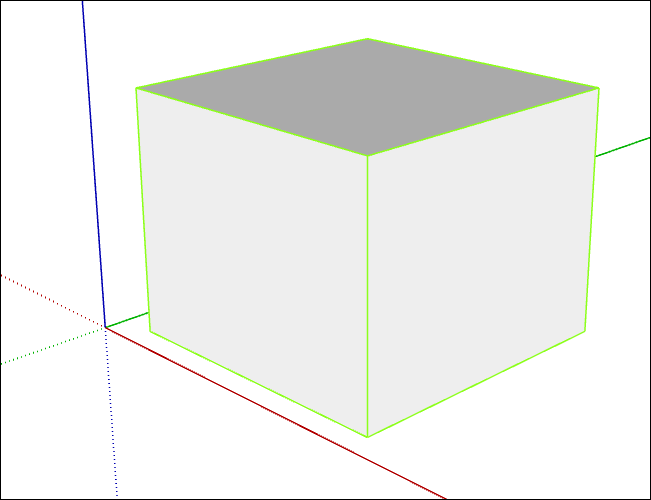
| Displays all edges in the color defined in color swatch. This option does not actually change any edge color assignments you may have made, but preserves them if you choose to view them again.以色样中定义的颜色显示所有边。此选项实际上不会更改您可能已进行的任何边缘颜色指定,但如果您选择再次查看它们,则会保留它们。 |
Color: By Material颜色:按材质 | 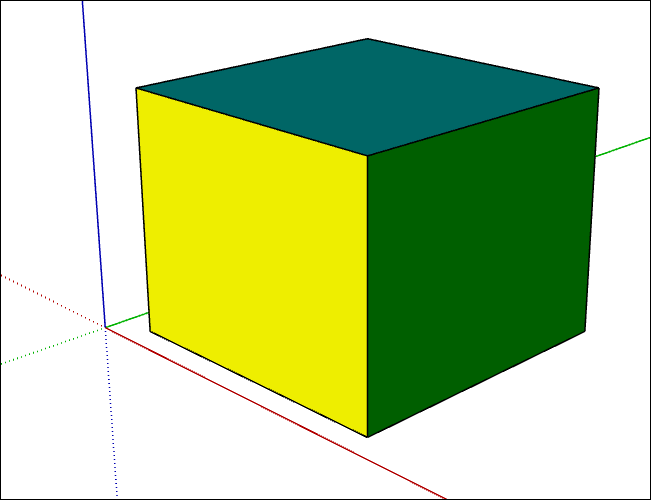
| Displays edges with an assigned material color, such as those painted with a color.显示具有指定材质颜色的边,例如用颜色绘制的边。 |
Color: By Axis颜色:按轴 | 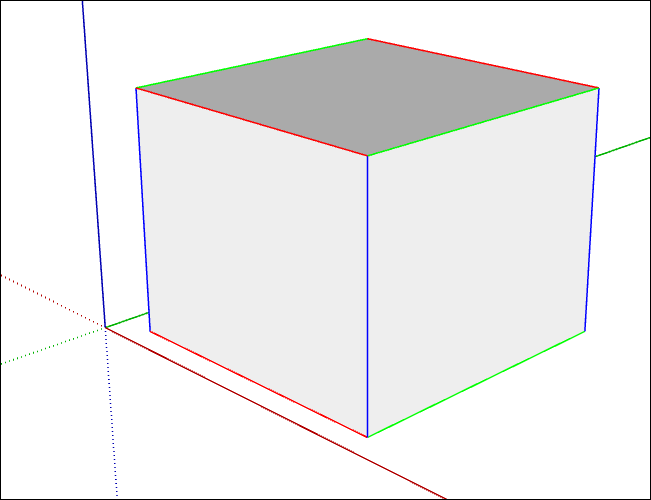
| Edges that aren't aligned with an axis are colored with the All Same color swatch. Also, an axis color doesn’t appear on hidden edges.未与轴对齐的边将使用“全部相同”色样着色。此外,轴颜色不会出现在隐藏的边上。 |
In the next table, you see all the ways you customize faces’ appearance.在下表中,您将看到自定义面部外观的所有方法。
Option选项 | Example例子 | Good to Know很高兴知道 |
|---|
Front Color, Back Color正面颜色,背面颜色 | 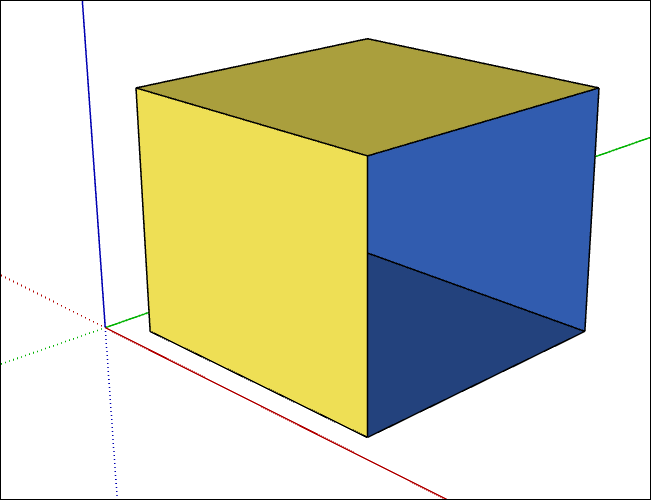
| Sets the default color for all front and back sides of faces. Materials assigned to faces override this setting. Here a face was removed from the cube so that you can see the front color is yellow and the back color is blue.为面的所有正面和背面设置默认颜色。指定给面的材质将覆盖此设置。这里从立方体中删除了一张脸,这样你就可以看到正面颜色是黄色,背面颜色是蓝色。 |
Style: Wireframe样式:线框 | 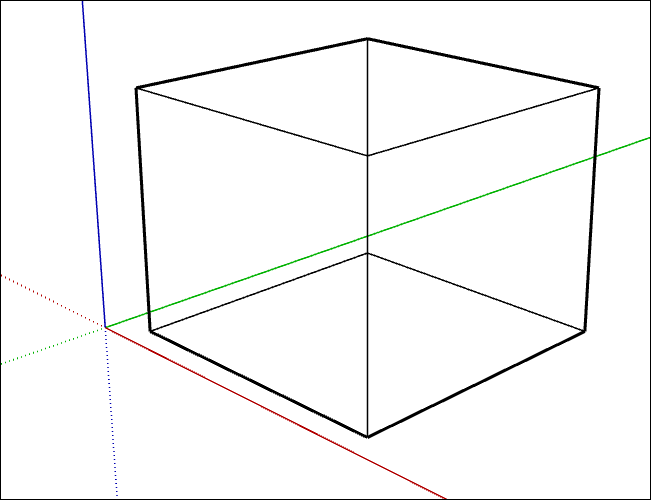
| Displays only the model’s lines. Because faces are not displayed, you can’t use face modification tools, such as the Push/Pull tool.仅显示模型的线条。由于不显示面,因此无法使用面修改工具,如推/拉工具。 |
Style: Hidden Line样式:隐藏线 | 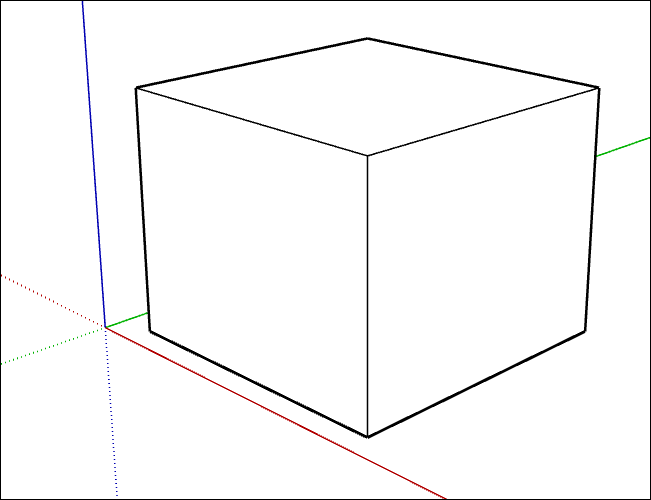
| Display faces without any shading or textures. 显示没有任何阴影或纹理的面。Tip: This option is handy for printing only in black and white.此选项仅适用于黑白打印。 |
Style: Shaded风格:阴影 | 
| Shades faces to simulate a light source.对面进行着色以模拟光源。 |
Style: Shaded Using Textures样式:使用纹理着色 | 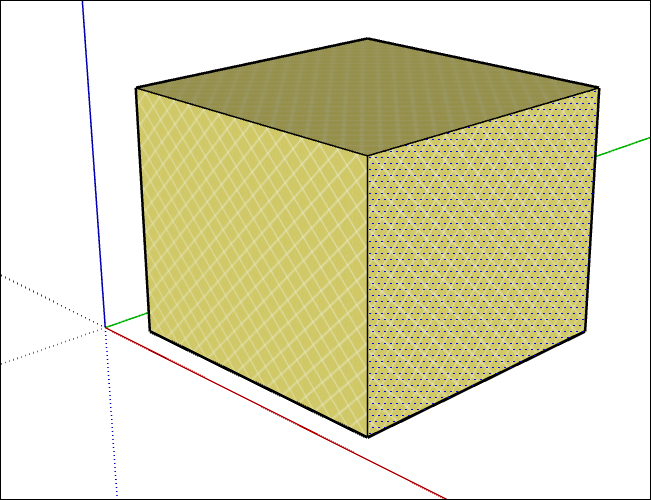
| Displays shading to simulate a light source and any textures applied to a face. 显示着色以模拟光源和应用于面的任何纹理。Tip: Textures require more memory to render your model. If you experience performance problems, switch to a style without textures.纹理需要更多内存来渲染模型。如果遇到性能问题,请切换到没有纹理的样式。 |
Style: Shaded Using All Same风格:使用全部相同的颜色 | 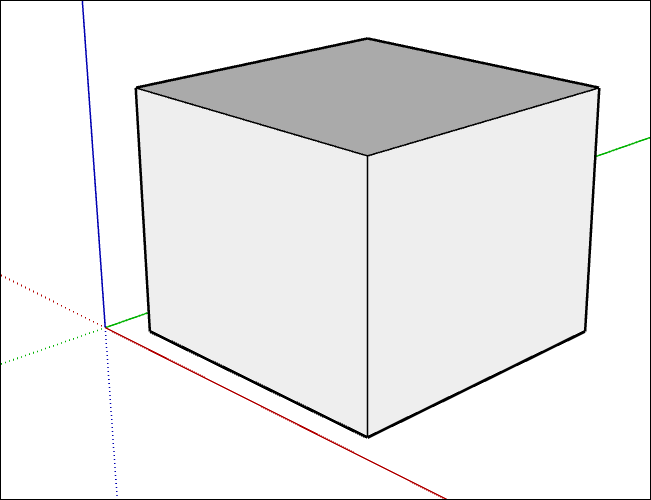
| Displays faces with the default front and back face color.显示具有默认正面和背面颜色的面。 |
| X-Ray | 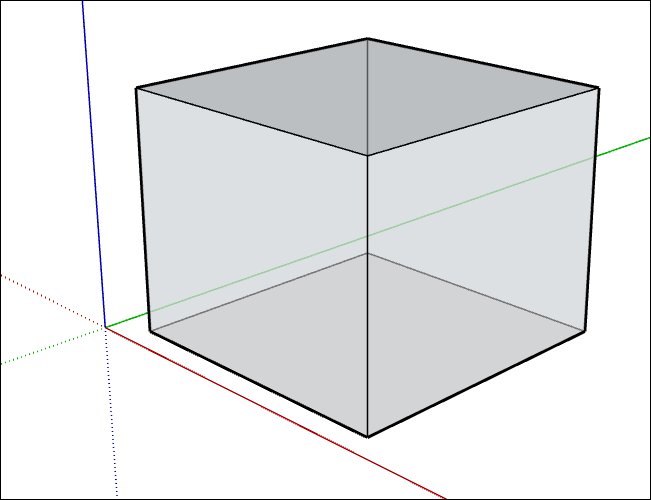
| Makes all faces transparent so you can see through your model. 使所有面都透明,以便您可以透过模型看到。Tip: In this mode, you can easily visualize, select, and snap to points and edges that would otherwise be hidden behind faces. 在此模式下,您可以轻松地可视化、选择和捕捉到原本隐藏在面后面的点和边。However, you can’t select and infer faces that would otherwise be hidden. Faces cannot cast shadows in X-Ray mode, which is different from material transparency.但是,您无法选择和推断否则会隐藏的面。面不能在X射线模式下投射阴影,这与材质透明度不同。 |
Enable Transparency启用透明度 | | Toggles global material transparency on or off.打开或关闭全局材质透明度。 |
Transparency Quality透明度质量 | | Choose among the Faster, Medium, and Nicer options. 在“更快”、“中等”和“更好”选项中进行选择。Choose between the Faster and Nicer option. 在“更快”和“更好”选项之间进行选择。Each differs in its speed and quality of transparency sorting. Faster sacrifices accuracy to provide faster rendering, whereas Nicer performs additional calculations to correctly display transparent surfaces.每种方法在透明度排序的速度和质量上都有所不同。更快牺牲精度以提供更快的渲染,而Nicer执行额外的计算以正确显示透明表面。 |
Ambient Occlusion环境光遮蔽 | | Selecting Ambient Occlusion enables the Distance and Intensity sliders. Adjusting Distance will increase or decrease how far away the effect of occlusion is from your edges. 选择“环境光遮挡”将启用“距离”和“强度”滑块。调整距离将增加或减少遮挡效果与边缘的距离。Adjusting Intensity increases or decreases the depth and strength of the shading used.调整“强度”可以增加或减少所使用着色的深度和强度。 |